How to Paint an Ombre Canvas Painting DIY

This tutorial will teach you how to paint an ombre canvas painting in 5 easy steps. You can use the ombre design as a background for quotes or lyrics, to create the look of a sky, or hang it right on the wall!
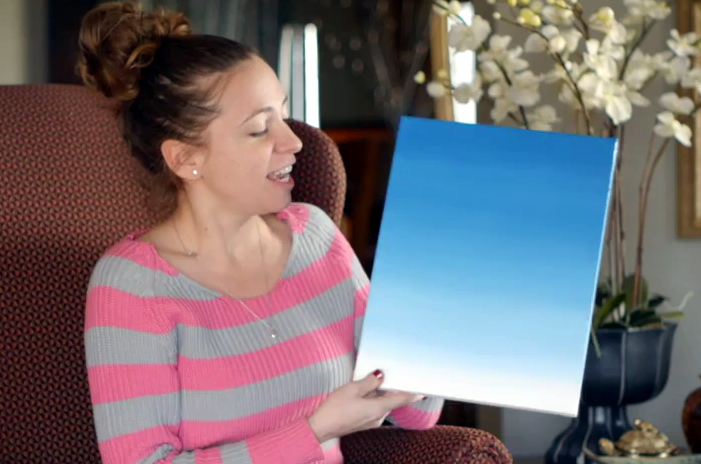
Hey guys! I am in the (long) process of rewriting all the DIY posts that were lost when the blog crashed. Fortunately, this one should be easy, because I made a YouTube tutorial video to accompany the post! It’s probably easiest to watch the video, but I’ve also got step-by-step instructions and links to products below.
This tutorial is pretty simple. Follow it and you’ll have an ombre background in 5 minutes!
Here’s what you’ll need*:
- Stretched canvas (look for one that is back-stapled rather than side-stapled)
- Acrylic Paint (choose two contrasting colors that you can use right out of the tube. For this tutorial I used Cerulean Blue and Titanium White)
- Retarder (this will make the paint dry slower- it’s not necessary but if this is your first time painting it will make the process easier)
- 2 wide bristle paint brushes
- Paint pallet (or a paper plate)
- Jar of water
- Drop cloth or cardboard to keep area clean
- Finishing spray (optional- my favorite is Krylon’s Satin finish, which you can get at Hobby Lobby or other major craft stores)
*Amazon links are provided to the products I use when possible.
Get Started
Lay down your drop cloth and change your clothes– this could get messy! Squeeze out a big pile of each color of paint separately on your pallet. Add a squirt of the retarder to each paint color if you’re using it. Keep the jar of water handy to put your used brushes into.
Step 1:
Start with your lighter color paint and your wide paint brush. Using even, horizontal strokes, paint the lighter color on the bottom 1-2 inches of the canvas. Paint along the bottom edge as well. Try to load the paint on thick and allow the excess paint to gather on the sides of the canvas. This will make it easier to paint the sides later! Always paint in the same direction, horizontally.
Step 2:
Add a small amount of color #2 (blue) to color #1 (white) on the pallet. Add this color just above color #1 and begin to blend back and forth into color #1, until you can’t notice a line between the two.
 Remember, always move in even, horizontal strokes. Keep moving the brush back and forth on the canvas until the colors are blended seamlessly.
Step 3:
Continue this process the entire way up the canvas: add a little more of color #2 (blue) and work it into color #1 (white) using even, horizontal strokes.
 Continue this until you reach the top– the top should have the full strength color #2 (blue). Paint the top edge with color #2.
Step 4:
Take your second clean brush and begin to pull the excess paint over the sides. This will give the canvas a polished look and ensure that the paint color on the sides matches the paint color on the front.
 Work with even strokes and always move from top to bottom— don’t switch from a lighter section to a darker section of the canvas or you’ll mess up the ombre effect!
You can use another clean brush or wipe the excess paint off your brush and go over the sides one last time to be sure they’re blended evenly.
Step 5:
 Allow your canvas to dry entirely (should take 10-30 minutes depending on how thick you painted). Touch up the top and bottom sides as necessary, but be warned– don’t touch up the front of the canvas! It is extremely difficult to match the exact color, and if you try you’re bound to mess up the ombre effect. Trust me, I speak from experience.
Step 6 (optional):
 After the canvas is completely dry, you can add a quote or lyrics to it. See my DIY tutorials on how to paint quotes on canvas for help with this. Once you’ve added all you want to the canvas, give it a polished look and protect it with 2-3 coats of your varnish spray. Allow it to dry overnight and you’ve got your new artwork!
So what did you think? Did you try to make your own ombre canvas painting? How did it come out? Have questions? Leave me a comment below, share a photo with me on Facebook, or let me know what you think! If you’d like to hear about new DIY posts, please join the mailing list or follow along on Facebook!


[…] How to Paint an Ombre Canvas Painting DIY […]
What do you do with the retarder? Just mix it in with the paint?
Hi Jessica,
Yes, you just mix the retarder in with the paint. There should be instructions on the bottle about the ratio of retardant to paint. Hope that helps!
So cool. Great tutorial. Thank you. 🙂
I’m so excited!!!! I’m doing this for my classroom and can’t wait to see it on my wall. One question, can you use craft acrylic or is it best to stick to the tube acrylic?
Hi Cary! You can use any type of acrylic paint. I have found that the higher quality paints blend better and will give you a more seamless ombre look. Good luck!
What colors do you mix to get a sea foam green?
any acrylic i think will work
This was very helpful! I cant wait to try something similar, thank you!
Michelle, Wonderful post 🙂 Really loved reading it.
Just a simple question, is it possible to bring in blending and probably using color mixing if I am to do it on a real big canvas? Moreover, which quality paint do you suggest me to go for if I need the best end result?
Thank you, Harshit! Yes, you can use this method on a large canvas. You’ll just need to work quickly before the paint dries. You could also try using oil based paints, which will take longer to dry. I like to use Winsor & Newton Galeria acrylic paint or Liquitex Professional Soft Body paint. I hope this helps!
Thanks for the advice Michelle. Really appreciate it 🙂
Michelle,
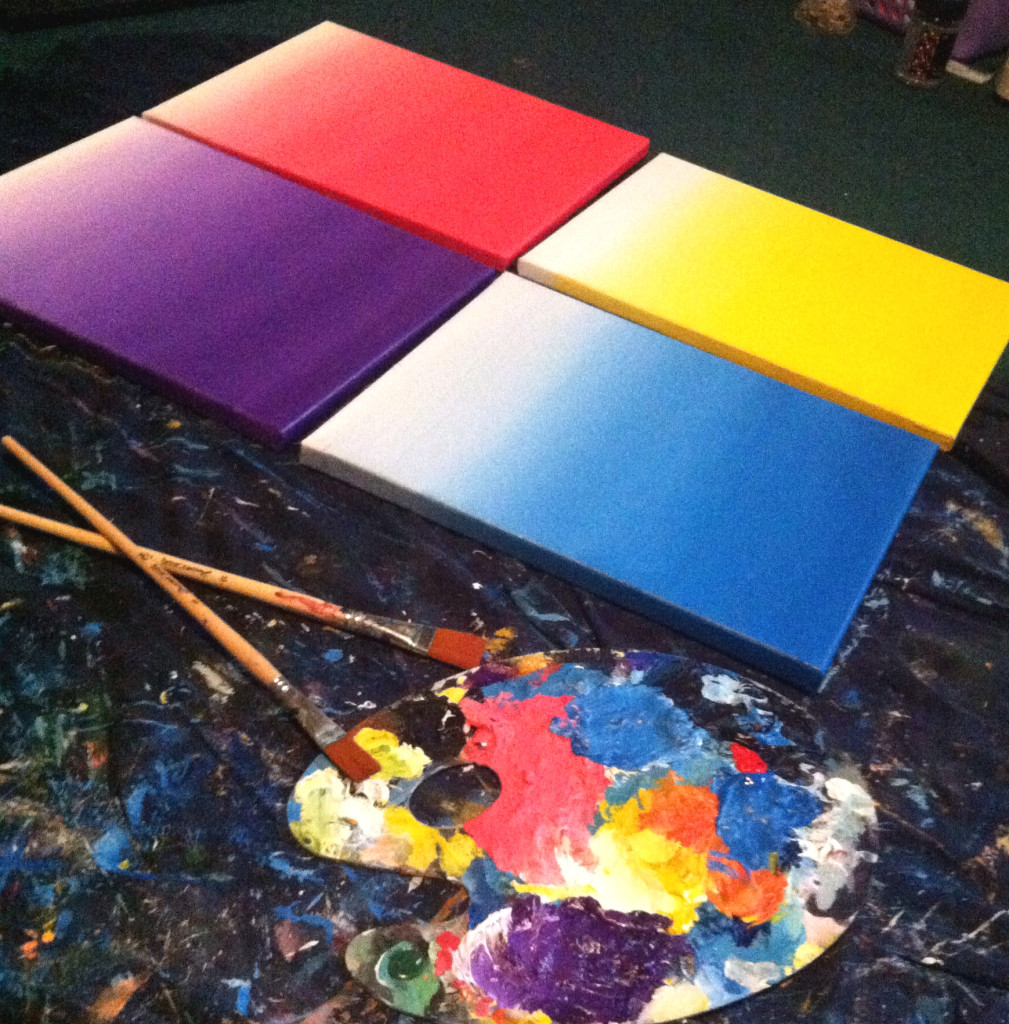
I was wondering what your advice would be on painting the canvases in this link? Instead of starting with white on the canvas would you just start at step 2 and continue from there? Or would you recommend mixing colors to obtain these looks on the back drop?
https://www.etsy.com/listing/77751424/colorful-abstract-art-original-artwork
Thanks (This was VERY helpful)
Hi Danielle,
I’m glad it was helpful! This looks like 4 canvases faded from dark to light. Instead of starting with white, I’d start with white tinted with a hint of your color, and then work up to the full color at the top. It’s very pretty! 🙂
Thanks for this tutorial. It was exactly what I needed. Do you have any idea what font you used to make the “Love you a little more” quote? I have been searching but can’t seem to find a similar font. Thanks!
Hi Kristie, I can’t remember the font I used- sorry! I recommend checking out Google fonts. The fonts are free and you may be able to find it or something similar there. Good luck!
I created such a beautiful ombré effect on a wooden letter with this tutorial. I didn’t know what to get my friend and I wanted something that you wouldn’t see in stores! When I painted it it seemed a little bland but then I figured I would try to do ombré. I was so confused at first because I though I had to buy more colors then just two. I looked up how to do ombré and none of the others worked except this one. I had to finish it in one night and this helped my get done in about 10 minutes. Great tutorial!!
Very helpful.Thanks for sharing.
Thanks for your help
[…] Tutorial: Ombre Art […]
This was not helpful. I already knew how to do this.
This was a great video! I loved it, thanks for doing it.
[…] paintspirationart […]
[…] Source: Paintspiration Art […]
[…] Tutorial: paintspirationart […]
I am so so excited to do this art project with my sister i know it will look so beautifull on my wall.
Thank you so much.
[…] Source: paintspirationart […]
[…] unwind after a long day. Consider using pastel tiles as a focal point or as part of a subtle ombre effect, where lighter shades blend into deeper tones, creating an inviting atmosphere. Pair your […]